






This article was written by Serge, MSc. Plant Biologist and Environmental Scientist with a BSc in Plant Biology and an MSc in Environmental Biology and Biogeochemistry. My background covers plant biochemistry, botany, and field research in forest and soil ecosystems. I write from real experience, not just literature.
Affiliate disclosure: This site has affiliate links, including Amazon. As an Amazon Associate I earn from qualifying purchases, at no extra cost to you.
If you want to grow mushrooms at home, the good news is that it sounds far more technical than it is. It is one of the most beginner-friendly food-growing hobbies you can try. You do not need a garden, you do not need sunlight, and you do not need advanced equipment.
What you do need is a basic understanding of moisture, airflow and patience. Once you understand those three things, mushroom growing becomes surprisingly simple, and this guide walks you through it step by step.
What You Are Actually Growing
A mushroom is not the whole organism. It is the fruiting body of a fungus, the part that appears above the surface to release spores.
The main body is the mycelium, a network of fine white threads that grows through the straw, sawdust or other material in your kit and digests it. Fungi are not plants at all.
They sit in their own kingdom, which I explain in how plant classification works, and they live much like the soil fungi described in mycorrhizal fungi in garden soil. In a grow kit, the mycelium has already colonised the block. Your job is to give it the conditions that tell it to fruit.
Before You Start: What You Need
To keep things simple, start with a mushroom grow kit, which removes most of the complicated steps. Oyster mushroom kits are the best choice for beginners. Beyond the kit, all you need is a clean spray bottle filled with water, a room with indirect light, and a stable indoor temperature, which for most homes simply means normal room temperature.
That is enough for your first grow. There is no sterile lab setup and no special tools.
Step by Step: Growing Oyster Mushrooms From a Kit
Step 1: Activate the Grow Kit
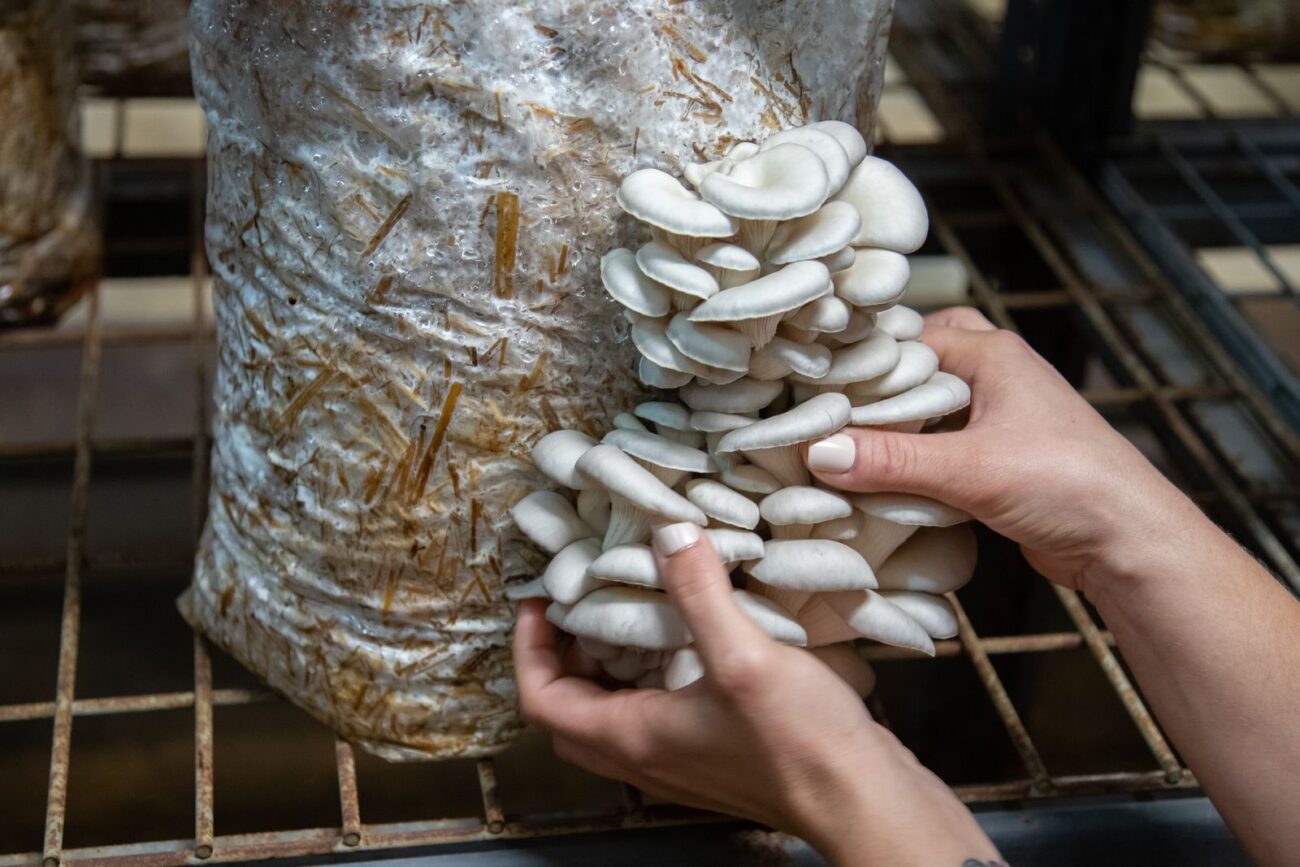
Most kits come as a colonised block inside a bag or box, and your first step is to wake it up. Open the bag or cut a small slit as the kit instructions describe, then place it in a clean indoor spot out of direct sunlight and away from heat sources. The block already contains everything the mushrooms need. Your job is only to create the right environment.
Step 2: Maintain Moisture (the Most Important Step)
Mushrooms are around 90 percent water, so humidity is everything. Spray the exposed surface lightly once or twice a day, keeping it moist but never dripping, and do not let it dry out completely.
If the block dries out, growth slows or stops. If it is too wet, contamination can appear. The goal is balance, not soaking.
Step 3: Give It the Right Environment
Mushrooms do not need sunlight, but oyster mushrooms do use some light as a cue to form caps, and they need steady fresh air. A spot near a window but out of direct sun works well, in a room with good air circulation and away from radiators or heaters.
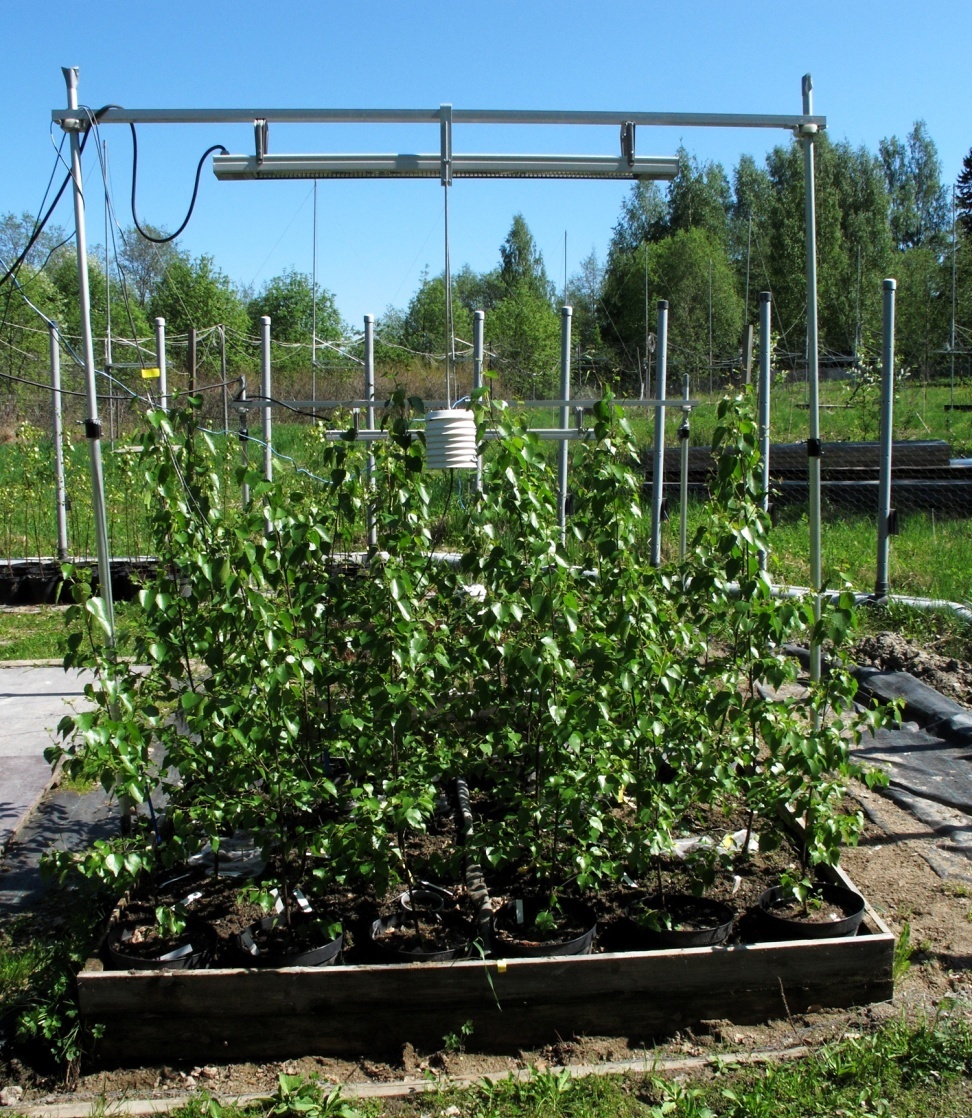
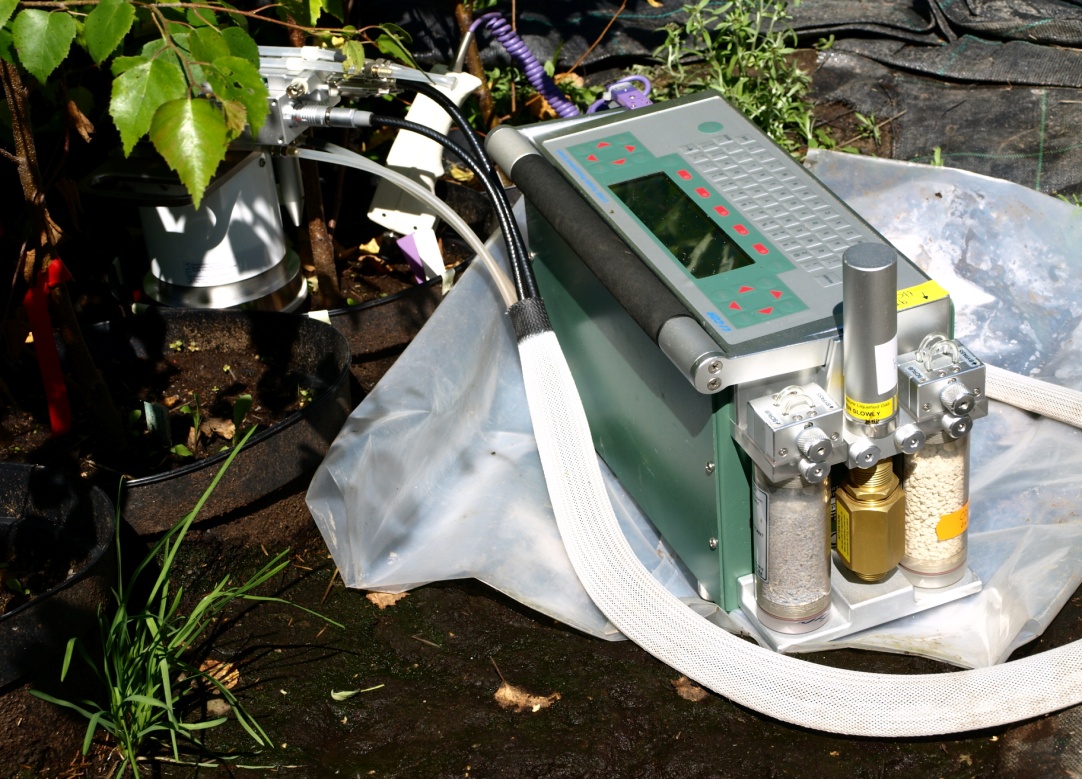
Normal indoor temperatures usually suit oyster mushrooms, but extreme heat or cold will slow growth. When I measured how trees responded to controlled warming in my field research on silver birch, even a sub-degree change shifted growth in measurable ways.
A mushroom block is just as sensitive to its surroundings, which is why stable moisture and airflow matter far more than expensive equipment.
Step 4: Wait for Pinning
After a few days to about two weeks, you will start seeing tiny white bumps. These are called pins, and they are the first visible stage of mushroom formation. Keep misting daily, keep the air moving, and resist the urge to handle the kit. Pins grow quickly once they appear.
Step 5: Let the Mushrooms Grow Fully
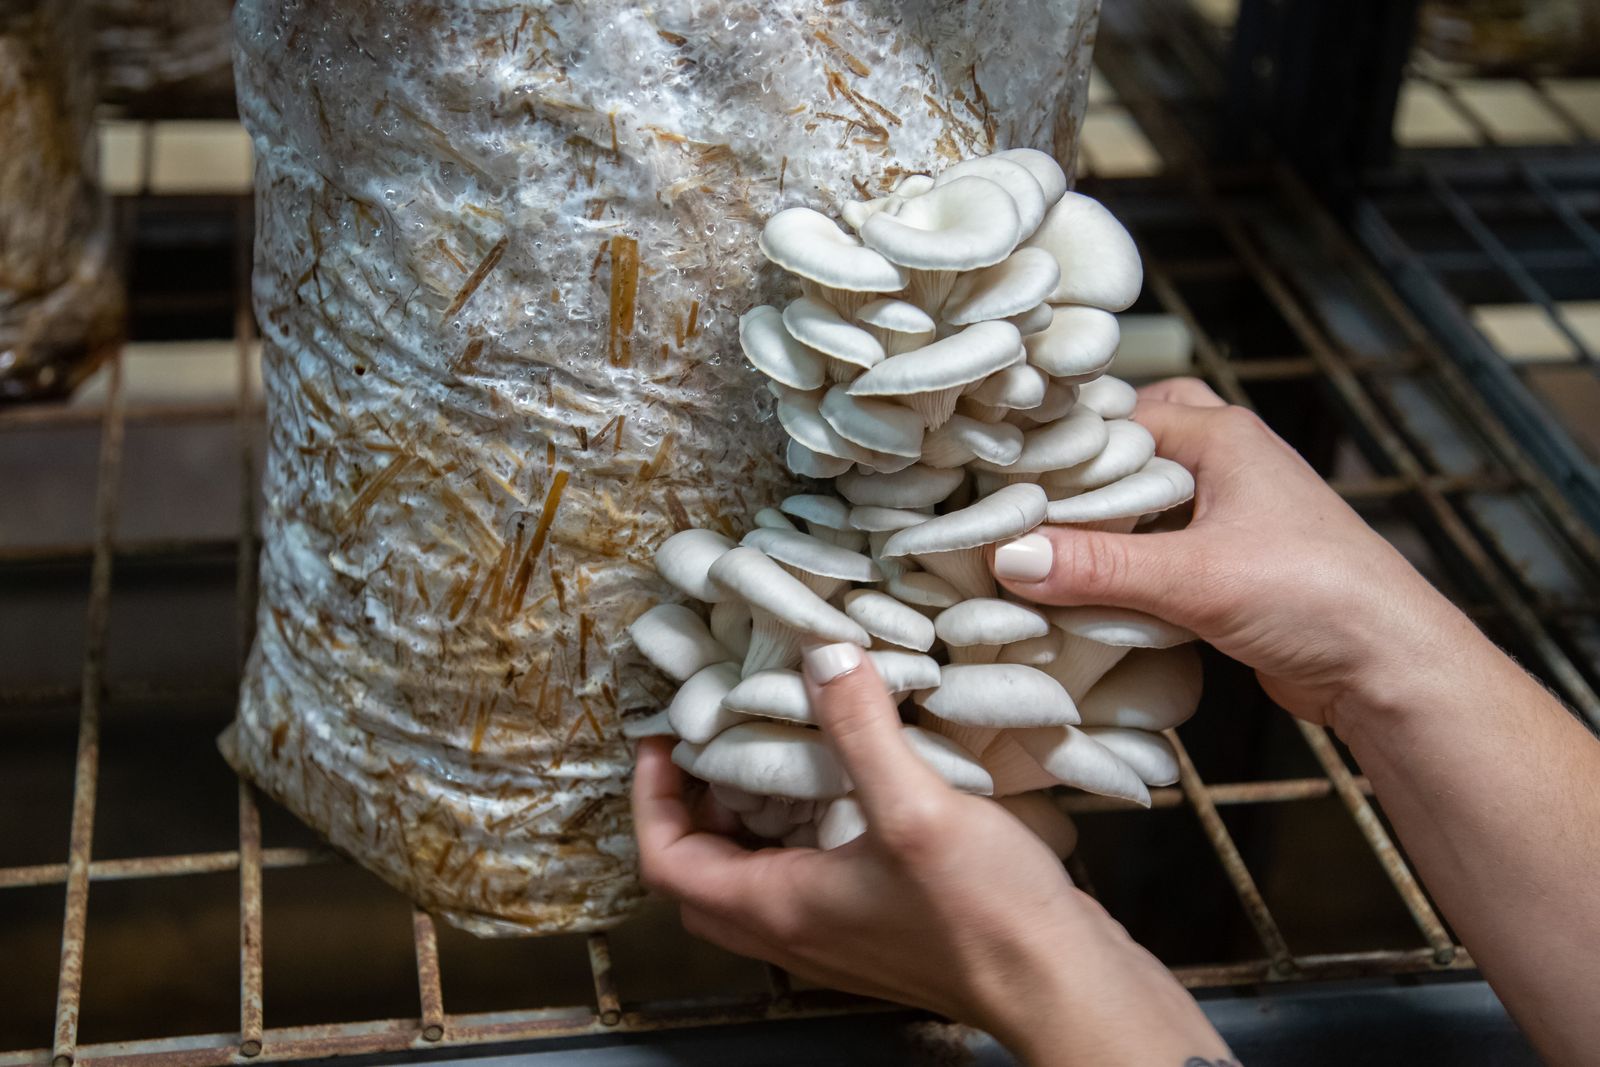
Pins develop into full mushrooms within a few days. You will notice a rapid increase in size, caps beginning to open, and stems thickening. This is the most active growth stage, so keep conditions stable and avoid sudden changes to the environment.
Step 6: Harvest at the Right Time
Harvesting at the right moment improves both texture and regrowth. Pick the cluster when the caps are fully formed but not yet flat, with the edges still slightly curled under or just starting to open. Gently twist the whole cluster or cut it at the base rather than pulling hard. Harvesting at this stage also limits the heavy spore release that comes once caps flatten.
Step 7: Second and Third Flushes
Most kits produce more than one harvest. After picking, let the block rest for a few days while you keep misting and maintaining humidity. A second and often a third flush of mushrooms will follow, each usually a little smaller than the one before.
When the block stops fruiting, do not throw it away. Spent mushroom substrate breaks down well in a compost heap, and the biology of how composting works explains why the mycelium gives decomposition a head start. My free compost ratio calculator helps you balance it with the rest of your pile.
Common Problems and Fixes
No Mushrooms Appearing
This usually means humidity is too low or airflow is too weak. Increase misting slightly, check the kit is not near a heat source, and move it to a spot with indirect light and moving air.
Mushrooms Growing Long and Thin
This almost always means too little fresh air. When carbon dioxide builds up around the block, the stems stretch and the caps stay small. Improving ventilation fixes it.
Mould Appearing
Mould is often caused by too much water or poor hygiene. Remove affected parts if possible and reduce misting. If green or black mould spreads across the block, it is best to discard it.
Mushrooms Drying Out
Increase misting frequency and make sure the kit is not near a radiator, heater or sunny window.
Summary
Growing mushrooms at home is simple once you break it into steps. You start with a kit, keep it moist, give it fresh air and wait for the growth stages to appear. There is no need for advanced tools or technical knowledge. The process comes down to consistency rather than complexity, and stable moisture and airflow shape your result far more than any expensive kit.
Most beginners find the first harvest rewarding because it happens fast, with a visible crop in a couple of weeks, far quicker than most plants. If that first harvest gets you hooked on growing your own food, my guide Your First Vegetable Garden takes you through starting a productive vegetable patch.
And if you would rather stay indoors, how smart gardens and plant pods work covers growing herbs and greens without a garden.
Common Questions
Is it legal to grow mushrooms for personal use?
Yes. Growing edible mushrooms such as oyster mushrooms, Pleurotus ostreatus, for your own use is legal in most countries. The rules that exist target certain psychoactive species, not culinary ones.
What is the easiest way to grow mushrooms at home?
A ready-to-grow oyster mushroom kit. It removes the hardest part, the sterile colonising stage, and leaves you with the simple job of keeping the block moist and well aired.
Which mushroom is best for beginners?
Oyster mushrooms. They grow fast, forgive small mistakes and fruit reliably in normal indoor conditions, which is why nearly every starter kit uses them.
How long does it take to grow mushrooms?
Most kits fruit within 7 to 21 days, depending on temperature and humidity. Keeping the setup stable and within the kit’s recommended temperature range gives the fastest and most even flush.
Does growing mushrooms at home smell?
Healthy growth has a mild, earthy smell, similar to a woodland after rain, and the chemistry behind it is explained in what the forest floor smell is made of. A sour or off smell usually points to contamination or too much trapped moisture, which means airflow needs improving.
Can growing mushrooms cause mould in the house?
Not if you manage the moisture. A single kit does not release enough humidity to harm a room, as long as you mist rather than soak and keep fresh air moving around it.
Are there any safety points to know?
Two. First, oyster mushrooms release a lot of spores once their caps flatten, and some people develop allergy-like breathing symptoms from repeated exposure, so harvest on time and keep the area ventilated. Second, always cook oyster mushrooms before eating them, and eat only what grew from your kit, never wild mushrooms you cannot positively identify.
How many harvests will one kit give?
Most kits produce two or three flushes. Keep misting and rest the block for a few days between rounds. Each flush tends to come in a little smaller than the one before.
Is growing mushrooms at home worth it?
For most beginners, I think so. The appeal is less about saving money and more about the speed, a visible result in a couple of weeks, plus full control over freshness.

